By Sam Coles:
Getting a flat tyre is
always something that can put a downer on your day because you have to be somewhere
such as work and it’s always frustrating having to change it on the side of the
road or even at home. It is easy and very basic changing an inner tube but not
everyone knows how so I’m going to give you a step by step process
.
Step 1: Take the wheel of the frame and remove the
tyre and inner tube.

The first thing you
need to do is remove the wheel from the frame and that is easy enough as most
bikes use quick release leavers these days, but if they don’t they generally
have a bolt that can be undone with a wrench.

When the wheel is off
make the sure the inner tube is completely deflated so you can get the tyre
off. If you have a racing bike like me you’re going to need two or three tyre
leavers because the tyres are very tight. Push the side of the tyre with the
leaver and get it underneath and slowly move it around the wheel again if you
have a racer move it a long a bit then use the hook to attach it to the spoke
and repeat. Remove the inner tube from the tyre and throw it away.
Step 2: Check the under and the top of rim tape and
the inside and outside of the tyre.

What you have to make
sure when changing your inner tube is to check that there is no left over
glass, stones or grit left in the tyre and the rim tape because otherwise your
efforts are pointless. So make sure you’re in a well-lit environment or use a
bright LED torch (my preference) to check the rim top and bottom. Start from
the hole where the valve goes just so you know where you have started and if it’s
clear move onto the tyre.

With the tyre you must
check the inside and outside because with the outside things such as small
stones and nails can get stuck so check that first. With the inside of the tyre
rub your fingers around slowly because there maybe something sharp so be
careful. Make sure there are no loose pieces of glass or small bits of grit;
grit tends to be more of a problem during the winter.
Step 3: Putting the new inner tube in the tyre.
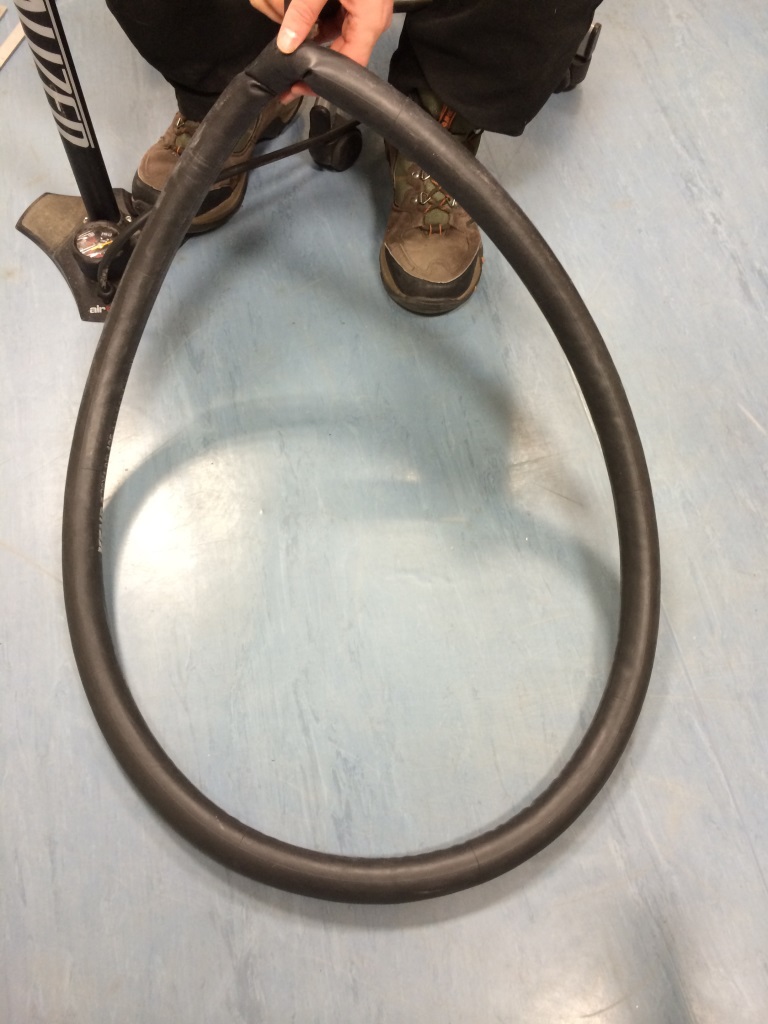
First you’ll need to put on half of the tyre on the
rim so you can insert the tube. First you’ll need to inflate the tube slighty
make sure that the tube can bend on your finger before putting it in because you
don’t want to inflate it too much.

Insert the valve in the hole of the rim then start
feeding the tube around the tyre and make sure that it is in the tyre. Now you
are going to want to start putting the tyre on again and there are two ways you
can do this,


1 with mountain bikes you can just feed it back on rim from the valve
with both hands in a circular motion and 2 if you have a racer you can use the
tyre leavers to put it back by putting it in the rim by the tyre and running it
along while checking that the tube is not pinching.
When the tyre is back on you’ll want to check if the
tube is in properly and you can do this by feeling around the tyre and if you
feel that it’s twisted somewhere start the process again. Make sure the valve
is push up to the tyre and now you can pump it up to the PSI your bike tyre can
handle.
So there you go it is as easy as that I hope that
help those who were unsure.
No comments:
Post a Comment